Natural stone walls, one more try...
December 20, 2019It is reckoned there are more than 80,000 km of stone walls on Mallorca, so going around the globe two times. Natural stone walls are mainly 'dry stone' walls indicating that no mortar has been used to glue the stones together. Especially the older walls are mainly dry stone type walls where the only ingredients are: stones/rocks and sand, soil or small stone rubble. The stones are held together by carefully selecting the size and shape of the stones to fit together and gravity will hold it in place. It looks easy, just stack some stones and voilá. Well... forget it, it's a highly appreciated skill and it takes years to learn how to do it.
I have not made or tried to make dry stone walls, I used mortar to add a bit more strength to it and nowadays using mortar is the common technique. The skill becomes a bit easier as you can glue stones on the outside of the wall where it would fall out without using mortar but it's still pretty challenging.
When I made my first wall in 2012 (in front of the terrace of the Doctor's House), I still believed no special skills were required apart from general masonry skills like how to make mortar. The wall had been completed but it was intensive and stressful. Intensive for the body as those stones can be easy over 50kg and you like to pick larger stones as it speeds up the progress. But also stressful for the mind, as my eyes were not trained to see the shapes. As you want to create as little as space as possible between the stones you keep switching stones and you keep turning them and trying to find the right final resting place for each stone. And once you found the right stone and start hammering off some sticking out pieces, it often happens that the stone breaks and it's game over, find a new stone.
The second wall I wanted to make was the one near the orange garden. I timed the hours needed to establish one square meter and I believe I was busy with this the whole day and the result was terrible in my opinion. I looked at the tiny bit I had done and compared it with the total length and height of the wall and I gave up. This would take months. I hired professionals instead. They came with two men: one was mainly preparing the rough material, which means picking a stone from the pile, deciding what would be the best 'face' of the stone and knocking off the pieces that stick out and pieces that would slope down to the outside of the wall if this would be on the top side of the stone. If sloping out on the top side you cannot stable place the next stone on it, even using mortar. If the slope of the stone go to the inside it is not problem, you fill up the space with rubble if needed and then place the next stone.
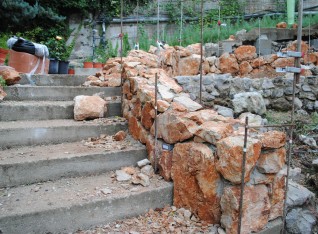
I have not give up completely and I always zoom in on every wall I see. There are those perfect walls, which is a hat off achievement for the guys who made it. When you look sideways along side the wall it's not sticking out more than a few millimeter and you cannot put a finger in the biggest holes between the stones. The skill might be appreciated, but personally I don't like it. You could have better made this wall of concrete and the next day scratch some lines in it to resemble stones. We are now busy with a project which we should have done in the first year we bought San Cayetano: make a more comfortable stairs to the house where we live. Daily we walk say 25 times up and down these stairs, so over the course of the past 7 years we have walked a staggering 60,000+ times over these stairs. It's far from comfortable, it's dangerous, steps are missing and there is no lighting. Why have we not taken on this project sooner you will ask yourself? Well... it was competing with many other projects which were far more exiting in our opinion, like creating a vineyard, making a green house, improving the terrace of the cottage etc etc.
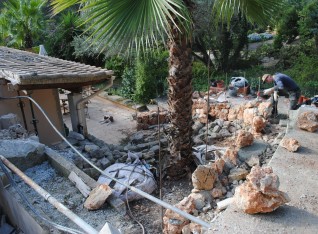
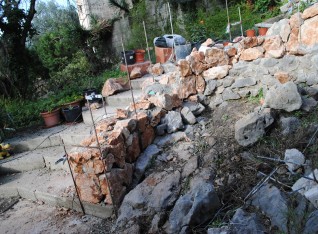
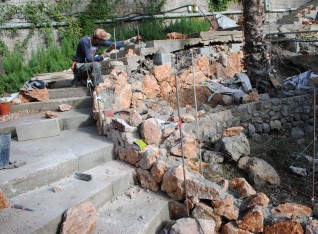
Anyway... now the cottage and the garden in front of it are about ready we thought it was the right time to start with improving the landscape around the house where we live ourselves. So, we are widening the steps, creating a wall on the inside, putting all utility lines, cables and tubes under the ground, removing the old concrete water deposit for the showers, integrating LED lights in the wall and adding a railing on the outer side of the stairs.
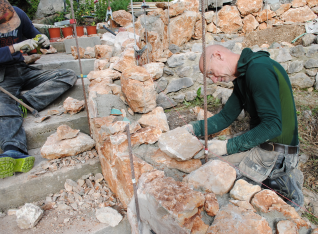
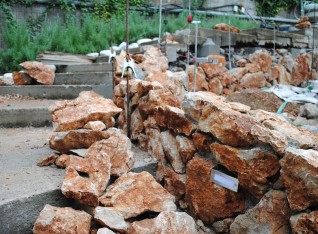
The whole project is in progress right now, started two weeks ago and we are not using the professionals to make the walls. Reason: the guy who made the previous wall has stretched our desire to have 'rustic' walls a bit too far, while he is charging €45 per square meter. I am making the wall together with Martin, a volunteer from Estonia. He is interested in learning the skill and together we are making good progress. Slowly we are learning the skill to make the walls. Our eyes get trained to more quickly see the nice faces of the stones, we do not break stones as much as before and we see the place where stones would fit more easily. A mistake we made last week was that we were too focused on the bottom shape of the stone. While this is important, it's equally important to also look at the top shape of the stone as you will get problems for the stone which will come on top of it.
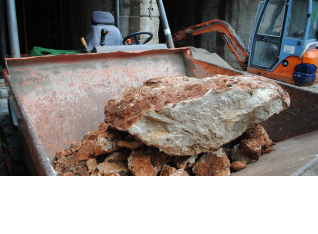
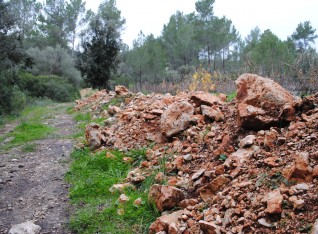
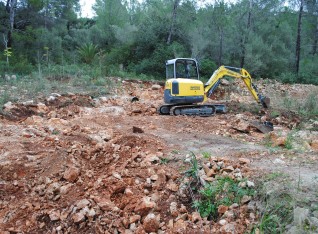
We are making good progress and we hope to have completed it within 3 weeks. There is still a lot to do, many dumpers of stones will be used, all coming from the future lake side.
Wedges
When modelling the rough stones you use a special hammer. To prevent breaking the stone you must hammer off smaller pieces which normally are shaped as a wedge. These wedges are being used to place the stones in the right angle. Later you fill the inside with more rubble and glue it all together with mortar.
Tools
You need the following tools:
- Hammer (one side pointed other wide like a normal hammer, but with a hole in the middle of the square face)
- Point chisel (to more precisely smoothen the surface)
- Wedge chisel (to cut a piece off in the desired line)
- Sledgehammer (to break big rocks into smaller rocks)
- Steel brush (to clean dirty stones before applying mortar to it)
- Steel pins / rebar steel 10/12mm (to set out the line of the walls)
- Cordage (to connect between the steel pins)
Comments
