Concrete flooring in coal storage building
May 22, 2020The concrete floors in the 3 rooms of the coal storage building were very bad, many cracks and very bad quality concrete, no reinforcement and a difference in level of about 35 cm from the back wall to the front. I decided to take it out, make a complete new floor with insulation, floorheating, all electric wiring in it etc.
Removing the old concrete
Sometimes your assumptions are wrong, like with how to remove the old concrete floor of the 3 rooms. I thought it would be a hell of a job to remove the layer of 10 cm concrete. All considered options to get the job done were far too complex, too labor intensive. I considered to use the 200 kg break hammer on the excavator or using the relatively small Makita kangoo hammer of 20 kg or using the highly expanding Splitstar mortar. What I thought would be a no-go was using the medium excavator with the smallest spoon, hook it under the concrete slab and lift it so it would break. Well... it worked and in 1 day we had everything removed. Most of the work was removing the concrete. We now have a huge pile of this stuff, which I would like to have crunched into small pieces which we can use as gravel on the roads.
Next step was to level it out as smooth as possible, removing all stones from the top layer, compacting it with the gasoline compacter and preparing it for insulation.
Floor heating
The plan is to prepare the floor for floor heating. So on top of the leveled out soil we applied plastic foil, then 4 cm polystyrene sheets, then 5 mm steel grid (15 x 15 cm) and connect 16 mm PEX-AL-PEX tube on the grid. Finally we apply concrete with a mix of sand and fine stones, so the concrete will get around the tubes nicely.
I checked the prices of sheets of 4 cm thick polystyrene and came to the conclusion that this is very expensive: the cheapest I could find was €5,25 per square meter ! The total floor surface is about 140 M2, so this would already cost €735,- . Too much as I just wanted to prepare the floor for floor heating, in case I ever wanted to do this. So it's not a real 'must have' and therefore the costs should be kept within what I was prepared to pay for it.
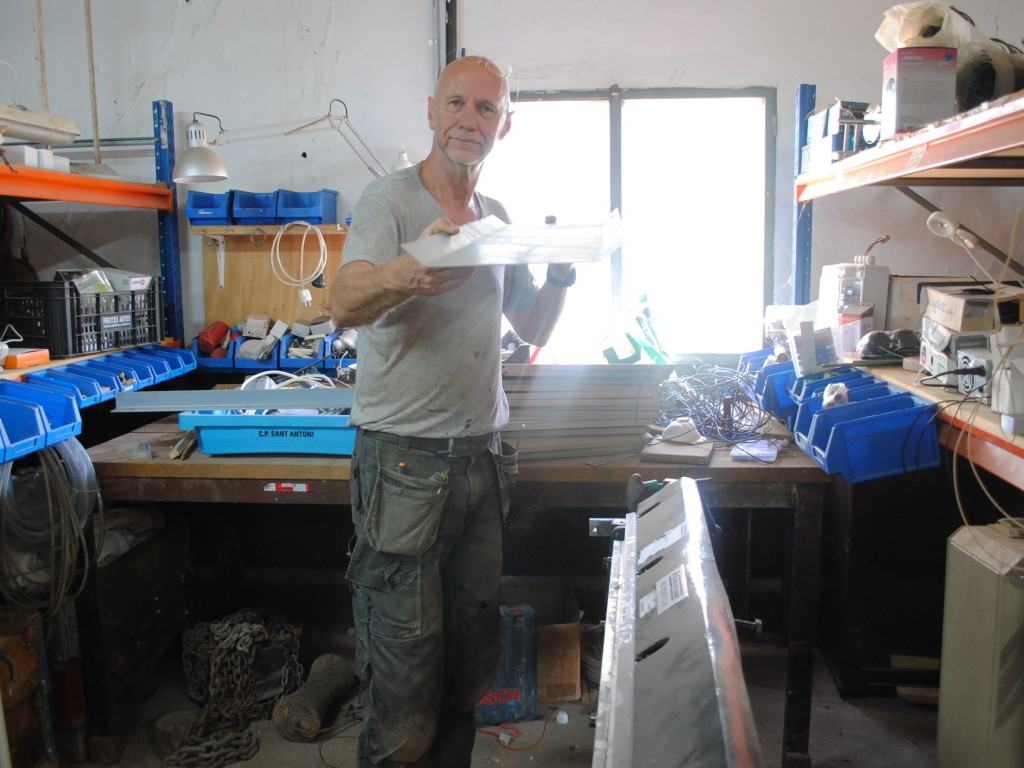
I had just put the 3 polystyrene arch forms online on the Spanish most popular second hand marketplace Milanuncios.com. I paid about €750 for the 3 arch forms including cutting it in the arch shape. This saved us a lot of time in making forms of wood. How likely would it be that I would sell it, I asked myself. Not really likely at all. What if we would slice the forms to sheets of 4 cm ? I Googled a bit, found lots of videos on Youtube and did a test with an old computer power supply, which had been adapter already by a friend for 9 V DC power. I used a breaded thin steel wire from my fishing gear and did a test. It was not powerful enough, the wire got warm, but not hot enough to cut the polystyrene smoothly and quick.
I needed more power, more volts, so I tried a battery charger, this might work perhaps. On Youtube many did it this way and it worked fine. My battery charger can be set to 12V or 24V DC; with 12V the wire does not get hot enough, but with 24V it worked ! The cutting speed was not fast, but heh... use it as a time filler. I connected the steel wire under tension on a board of wood, connected a spring to it, so when it gets hot the steel wire will still be under the same tension when the wire gets longer. It took about 13 minutes to slice off a sheet of 120 cm x 400 cm (4 cm thickness). A nice example of recycling, look at the attached photos for how we did it.
We sliced the 3 arches completely and had more than enough to cover the 140 square meter of the 3 rooms. The remaining 40 square meter was advertised on internet and sold a few days ago.
Eventually I did not buy the 600 meter floor heating tube through a Chinese seller as 3x I ordered it and 3x they could not deliver, most probably due to Corona. So I bought it at the Bricomart, just before the shop was fully closed for business. Wim, Willy and Ans assisted with fixing the tubes to a 15x15 steel grid of 6 mm.
Preparing for concrete pouring
The real work was still to be done: pouring concrete and this would be the largest slab I had ever made (11 x 4 meter) and much more difficult to screed than a box you have to fill with concrete where you can use a screed / ruler to scrape the concrete top straight. I was kind of nervous about this as it's very difficult to make a perfect level concrete floor and this was my intention. I decided to make custom made hooks of steel for which I used my newly acquired bending machine and the milling machine; both never used before. The top of the hooks were placed a few cm below the final top of the concrete and the hooks were carrying aluminum rulers of 2.5 meter by 6 and 3 cm. Both long side walls would carry this. These 2 rulers were placed perfectly level on the exact height of the top of the concrete and over this one I placed a heavy rectangular tube of steel of exactly the width of the room. To not have to sit on your knees in the concrete to pull it I welded a handle of steel tube to it.
Regla Vibradora
This is Spanish, but probably easy to guess what it is: a kind of screed or ruler which vibrates. I decided to rent one, called the rental company in Palma, reserved it for picking it up later that Friday - the day before the concrete. The website of this rental company informed me that it was open till 18:00. When I arrived there an hour before I found it closed with a note on the door about 'new opening times'; it had closed at 15:30. F**K. What next? Everything was organized for the Saturday including asking Pepe Moya to assist us. I went to another rental company in Palma, the biggest in fact on the island. They were open, but all regla vibrantes were rented out. On my way back to Selve I knew another rental company but this one was also closed. F**K, F**K, F**K !
Back at home I asked myself what vibrating principles exist and started to google a bit. Most commonly used for vibrating something is done by placing a weight on the axle of an electric motor but placing it eccentric, meaning out of center. This will make the engine vibrate as the axle goes round. I scanned all engines I have and thought about the electric motor of the fan of an old outside unit of an air-conditioner I had laying around somewhere. That evening Pepe called and told me that he could not come on Saturday as he had to work. So the concrete pouring would be Sunday. This made me decide to use the Saturday to make my own vibrating machine.
The whole day I was busy making this. Again I used the newly acquired bending machine to bend thin galvanized steel sheet for the 'bed' of the vibrator. Just before beer-time (6 PM) I was ready with the machine and it seemed to work on dry land. The next day I used it and it worked pretty well on the wet concrete as well...until a shortcut which I blamed to the too heavy weight on the vibrator, but later it was just due to a few drops of wet concrete which connected the phase and the zero wire. So it's still working and I will improve the design a bit, insulate it better against shortcuts and use it for the second room for sure. The evening after the concrete was done we talked about the vibrator plate and how cool it would be if you would have a kind of a robot for leveling concrete, think of a lawn mower robot. This would be so useful that we could not believe that we would be the first to think of this. What we were not thinking of is : how does it move over the concrete. This is the problem, you cannot use wheels or tracks.... when you can solve this, it's for sure a good idea. Like drones it would have 4 engines/motors which would vibrate depending on the level of the concrete. This way it would level out the concrete and like the lawn mower robot it memorizes the places where it has been. Maybe it can move itself by controlling the vibration? Still a great idea, but it will not work without way to move this machine over the concrete.
Second room preparations
It's Friday now most of the preparations have been done, we have new mix and cement and tomorrow I will make another tool: a flat screed, super light, so made of aluminum on a long stick of connected PVC tubes of 16 or 20 mm. I will use this to scrap of the water which always comes on top of the concrete as the sand, stones and cement are heavier than water so it will push itself up. They call it the 'bleeding of the concrete' and although you need to water the concrete for 7 days after you can walk on it, you need to remove this 'blood'. I am still aiming for a super flat surface with a max difference of 2 mm (highest against lowest point). I want to be pro !
Ans is already very happy and can't wait to get started in her room. Next week we will prepare her room, remove some lose particals of concrete from the newly made arch, install the sockets and switches and so on.
Corona update
We will move to phase 2, the restrictions are loosened a bit, but now you have to wear a sanity mask in many public situations.
New family members
5 Days ago I heard a chicken near our house making the typical sound when they have chicks. To my surprise she had 9 healthy chicks and 5 days later all 9 are still alive. We decided not to put them apart in a cage but let nature have it's way. The mother is staying close to our house, which is wise as we supply food and predators like the falcons (nesting in the coal storage building) and martens will less likely hunt for them.
Agave flowering
In the cottage garden we have a huge agave, also called Century Plant, although they will never reach 100 years. After 30 or 40 years they bloom and after that the plant dies. This takes about a year, but it's sad as it's really a magnificent appearance. Young ones are already appearing from the roots, but it grows very slowly.


Comments